Replacing some worn-out brake shoes
The brake shoes on my hybrid bicycle had worn off. It was way past its wear limits. These Tektro pads had an embossed line on the rubber. When the wear reached this line, I should have changed the pads. Sadly, it was way past that point. I kept tightening the brake cables to bring the pads closer. At least, this ensured that there was a somewhat working brake system.
The Decathlon shop beside my office was out of these V-Brake pads. I checked on their online store and found that they weren’t available there, either. I had to place an order for slightly expensive (The difference is about 200 rupees per pair.) Kool-Stop pads instead.
The pads had come earlier but I waited for the weekend to replace them. The idea was to clean my workhorse before installing the pads. (That was long due.)
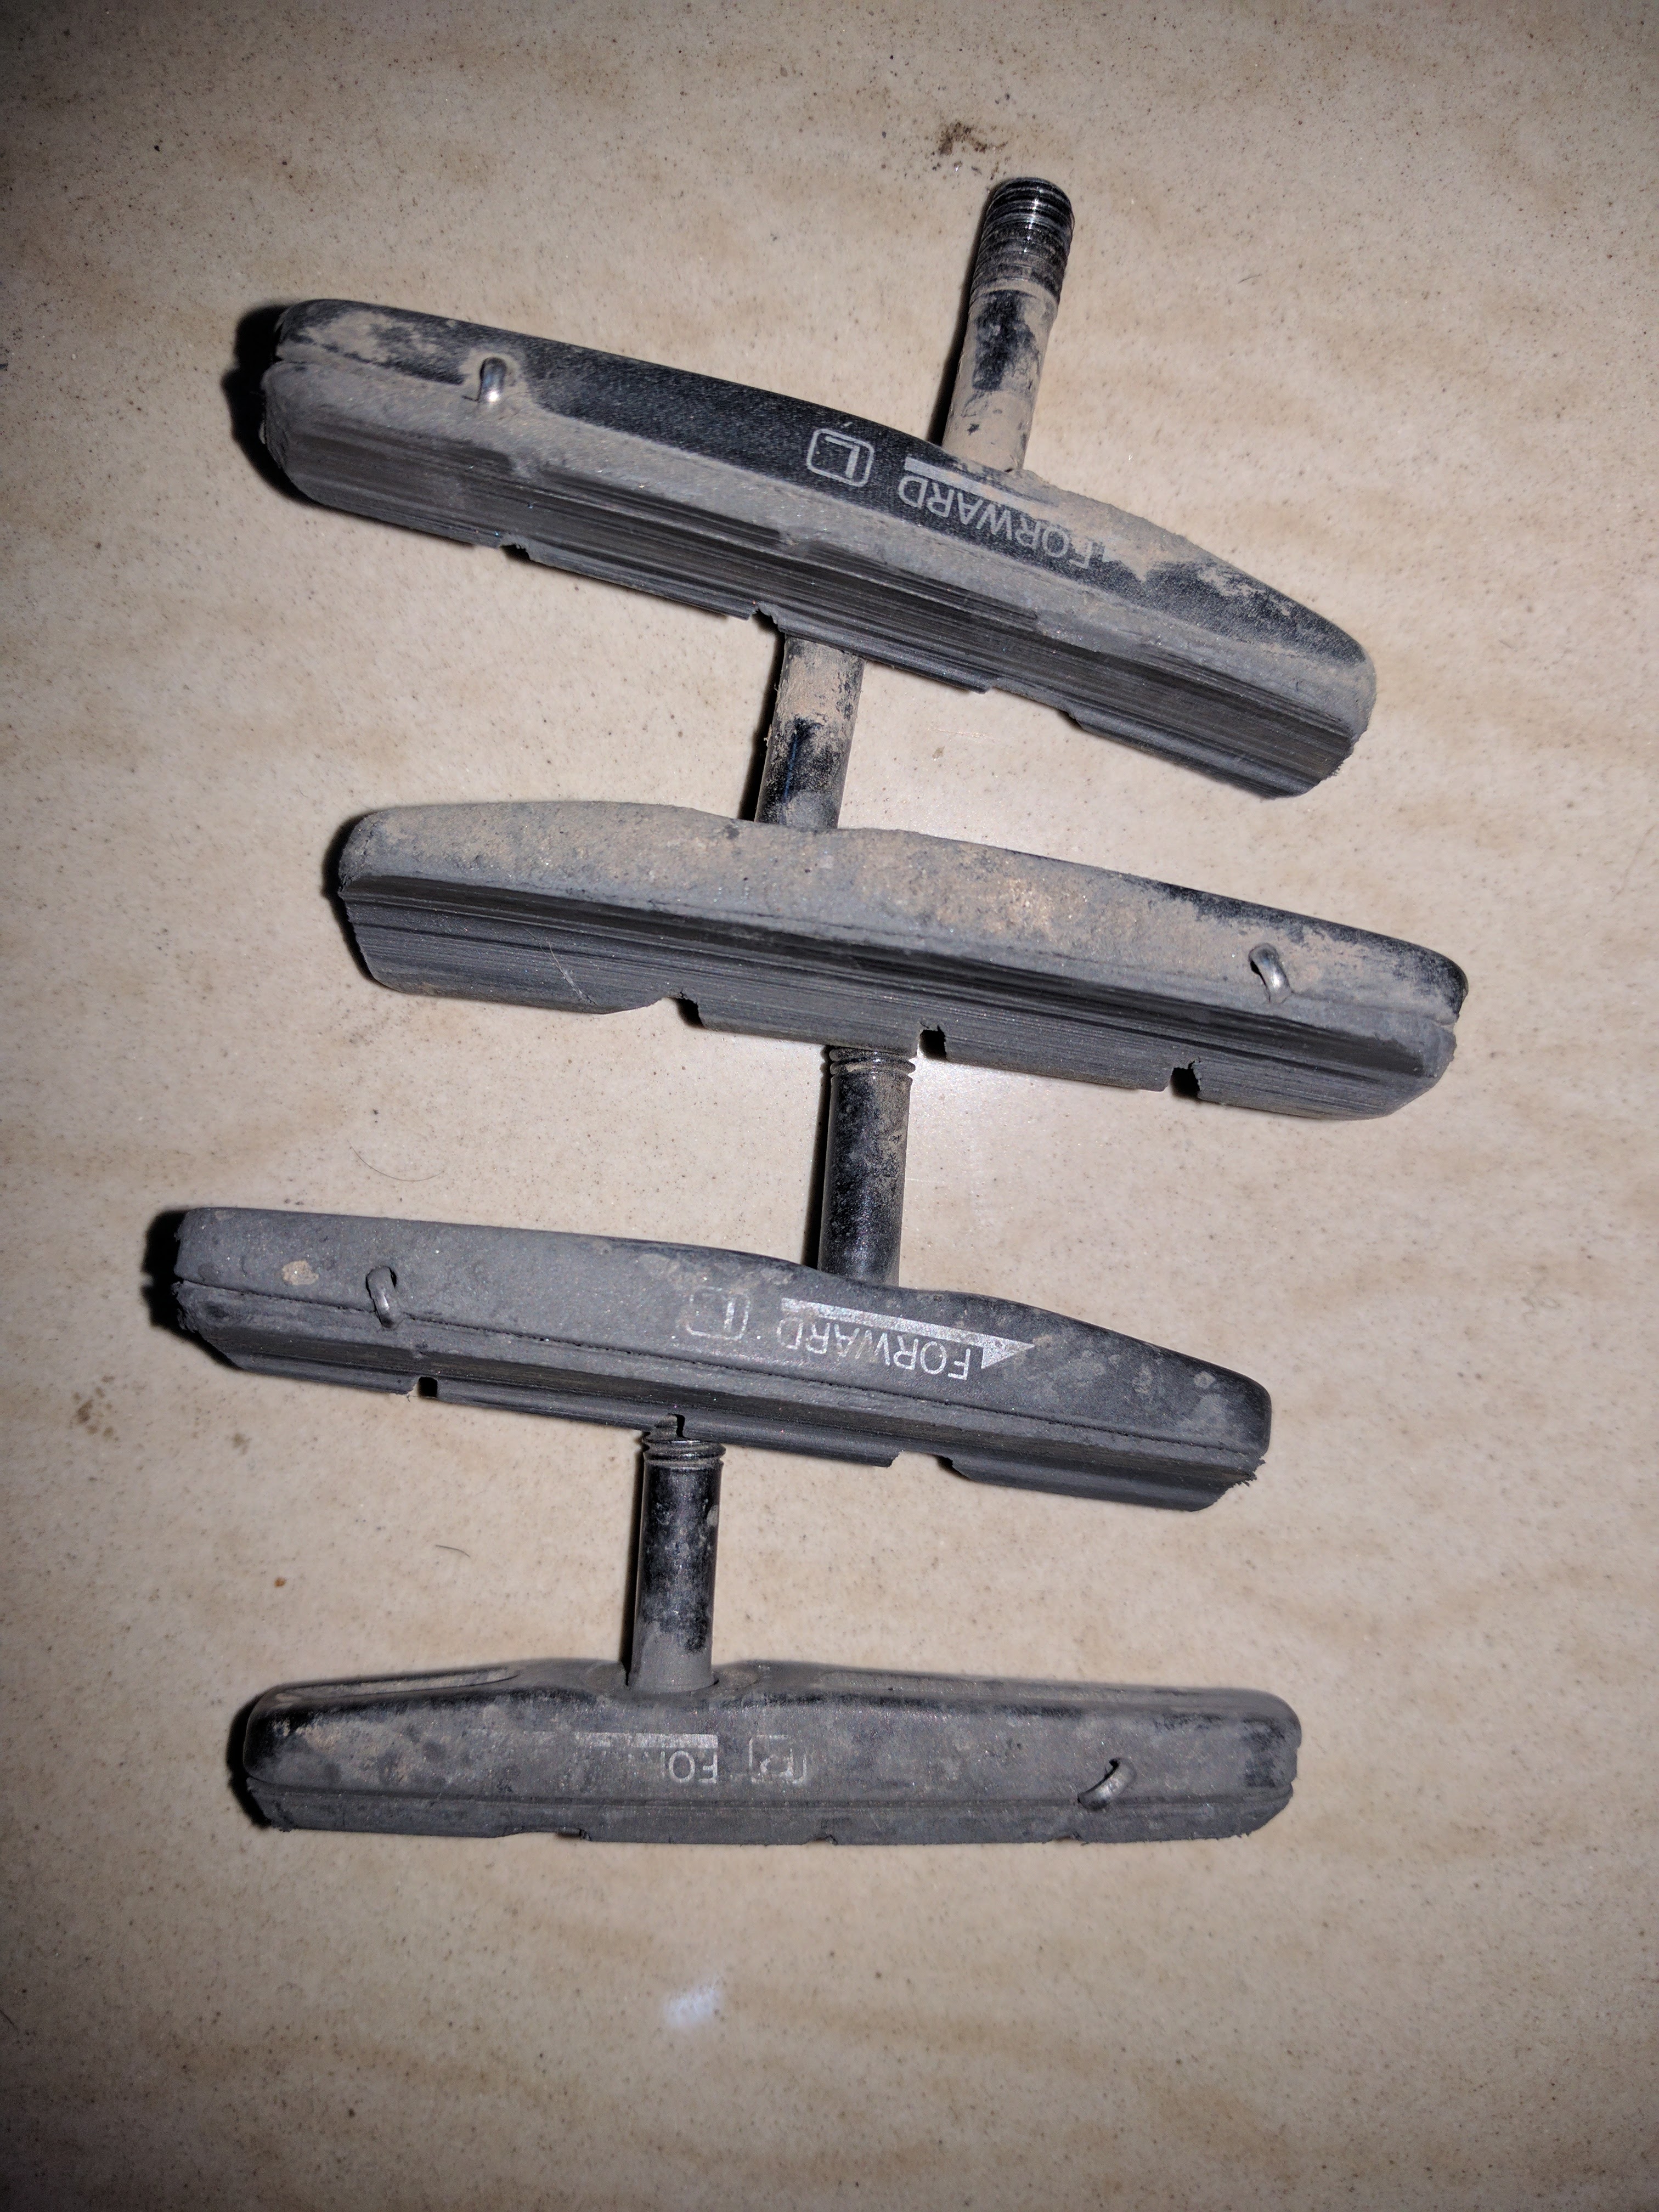
The pads were worn out well beyond their service life. Here is a picture of the horror-

Some of them were not even aligned properly with the rim. This must have happened over the years, while I did not pay any attention to them.
I noticed quite a lot of other things that were disturbing.
Firstly, the springs on one of the brake arms of each of the front and rear brakes were damaged. There was no spring-back. During past services, the spring wire was bent further to increase the tension. While this can be a solution to a scenario that requires minor adjustments, it is not an advisable thing if the spring-back tension required is quite high.

I could take this spring out of the retaining mechanism without dislodging the noodle from the holder. That’s how bad the spring wire has become.
Secondly, the brake wires were practically gone.
Thirdly, the brake wires, especially the rear one, did not move freely through the cable housing. I sprayed some 3M 4-way lubricant into the housing but it did not help. Judging by the gooey stuff on the cable, I think that the steel coil on the inner side of the housing must have rusted.
Fourthly, the braking surface of the rims are somewhat worn out. This is evident from the longitudinal raised patterns on the worn out brake pads. If this was a performance bicycle, I would have changed the rims. However, I believe that the rims are good enough to last me a few more thousands of kilometres.
Upgrading my hybrid – a plan
This hybrid is my workhorse. Judging by its usage, I can safely say that it has at least another decade of life left in it. Not to mention, I find the bicycle extremely comfortable. In the last four and half years, I have ridden on it for at least 18,000 kilometres. It deserves the drivetrain upgrade.
Initially, I had planned to give it to a shop and let it take care of the upgrade. But, during this whole process of inspecting the status of the bicycle, I decided to do it myself. Cost wasn’t a determining factor in this DIY decision as the cost would roughly come out to be the same with me having to buy additional tools and equipments. The driving factor was learning. I am yet to learn deep maintenance of my bicycles.
The other advantage would be to upgrade it piece-by-piece at a pace that is financially comfortable. However, I would have to purchase the groupset at one go. That would mean a significant investment. On the other hand, this strategy would give me enough time so that I can prepare myself with various tools and knowledge such that I can do the upgrade myself.
My choice of component would be the 3×10 Deore. It is a workhorse groupset for a workhorse bicycle. There are two bottle necks.
Firstly, my current bottom bracket is a square taper English threaded one. The newer Deore cranks would require me to migrate to Hollowtech II. While I can use a Hollowtech compatible tool to work on both my bicycles, the square taper adapter that I would have to buy to undo the current bottom bracket would be a one-time-use item.
Secondly, the current shifter and brake lever is in a single assembly. As soon as I migrate, I would have to buy separate V-Brake levers. The shifters would come as a part of the standard groupset package. So that’s not a big deal.
At present, I have placed an order for a Jagwire brake and gear cable kit and two pairs of Deore brake arms. This is a good starting point for the upgrade.

